


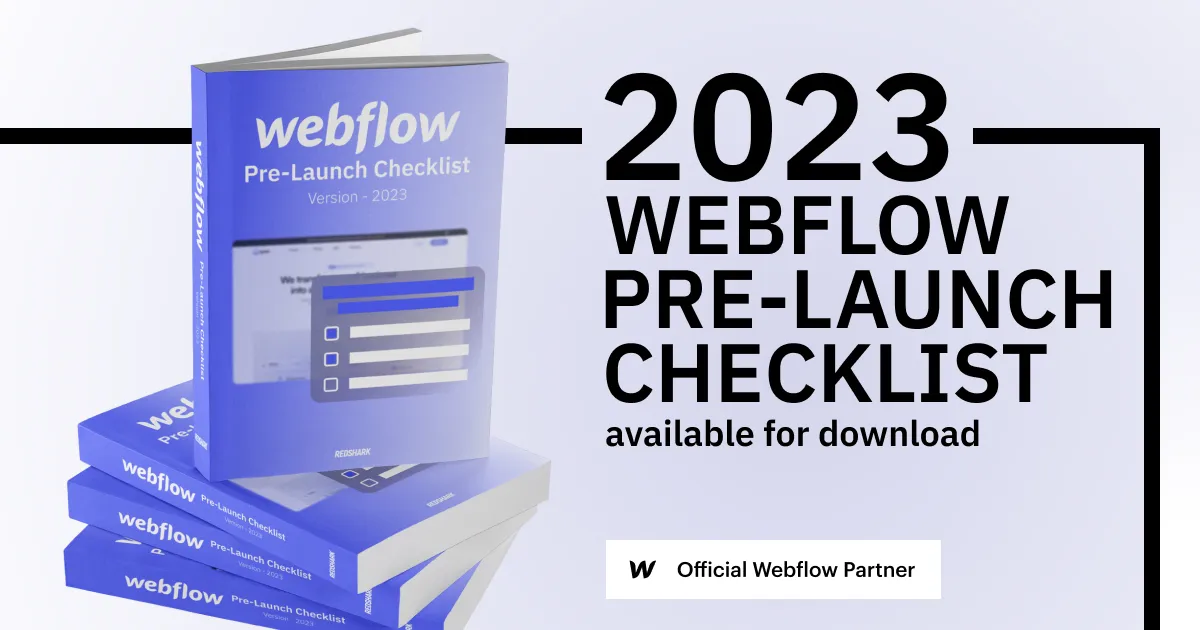
Launching Your Webflow website: Pre-Launch Checklist
Launching Your Webflow website: Pre-Launch Checklist
August 23, 2023
Updated:
August 22, 2023
Featured & Recent Articles


In today's digital age, working with a Webflow development agency to captivate an online presence is essential for businesses. One of the most powerful tools for creating stunning websites without diving into complex code is Webflow. Whether you're an aspiring web designer or a business owner looking to establish an online foothold, this guide will walk you through our essential Webflow website pre-launch checklist.
Webflow Website Pre-Launch Checklist
The website launch checklist covers everything we must complete after designing and developing our client's websites. Read this checklist and better understand the step-by-step Webflow agencies go through before launching a fully designed Webflow website.
QA & Testing in Webflow
QA is the first step and one of the most pertinent website pre-launch steps in Webflow development. As our Webflow designers develop your site, we preview your site with Webflow's tablet, mobile landscape, and mobile portrait views. However, now is the time to do real-world tests like viewing your project on Android and Apple devices. When testing the project on other browsers and devices such as Chrome, Internet Explorer, Edge, and Safari, we double-check that the following look good:
- Fonts
- Colors
- Gradients
- Images
- Logo
- Navigation
- Animations
Creating Custom 404 Error Pages in Webflow
Webflow agencies create a custom 404 page; this ensures a seamless user experience even when visitors encounter a dead end. Incorporating the brand's design elements, a friendly message, and clear navigation options helps guide users back on track. To create a 404 page in Webflow, we edit the existing 404 page located in the “Utility Page” tab within the website pages. Regarding content, we like to notify visitors of errors and provide links to the homepage.
Remove Unused Styles & Unused Animations
Our Webflow agency cleans up unused styles and animations in the Style Manager tab within Webflow Designer.
Connecting Forms in Webflow
An essential part of any website is forms and managing form submissions. We update all the form information on the Forms tab on the Webflow Dashboard to ensure it's correct. If the form submissions go to multiple places, utilizing applications such as Zapier is beneficial.
Set Your Site’s Language
Search engines and other translator tools reward domains that set the website language. While following along with our website launch checklist, select the site language within the Custom Code tab within your Webflow Dashboard.
Page Titles & Metas in Webflow
Our Webflow development agency ensures each page has a proper title and meta description. The SEO title and meta description usually appear when the page appears on Google or any other search engine.
- Update the SEO settings for each page in the project from the page settings.
- What if our Webflow designers are rebuilding an existing site? Then we’ll transfer all the current titles and meta descriptions to the new site.
Set Opengraph Data
We set your Opengraph tags and image for each page. Each page should have unique Opengraph information, matching the SEO Meta Title and Description.
Set Up Redirects in Webflow
Next, we’ll need to set up 301 redirects. A benefit of using Webflow is the ability to set up redirects within the Hosting tag. Webflow even allows “wildcard” redirects to help with the process.
Spellcheck
Spellchecking all the content within the site is integral to ensure there are no misspellings or messaging that may damage the client's brand. Remember to include the website metadata within your grammar checks so search results have no misspellings.
Duplicate Site Just in Case
If Webflow agencies plan on transferring the client’s site to another user, duplicating the site is a crucial step in case something goes wrong. It’s always good to have a copy!
Adding Analytics and Marketing Pixels in Webflow
Analytics are an essential step in a website pre-launch checklist! If clients don’t already have Google Analytics, we’ll set up the account to track the traffic that visits your site! Setting up analytics on your Webflow site is quick and easy. We will add marketing pixels within the Custom Code tab of your Webflow Dashboard. Paste your snippets in the “Head Code” section.
Send Invites to Webflow Collaborators
The last step in the Webflow website pre-launch checklist is to send out invitations to the Webflow Editor. We can add collaborators within the Editor tab of the Webflow dashboard.
Your Webflow Checklist for Website Launch
YOU’RE READY TO LAUNCH!
- Add both A Records (remove any A Records with the host “@”)
- Add CNAME Record (remove any CNAME Records with host “www”)
- Set Default domain (generally www.yourdomain.com)
- Check the Status of DNS pages within Webflow.
- Publish!
Your website has been successfully launched, so let’s break out all celebrations!
Website Pre-Launch Checklist from Webflow Experts at Red Shark Digital
At Red Shark Digital, our Webflow development agency has developed hundreds of websites for clients up and down the east coast. With our expertise in Webflow websites and website design, our Webflow agency has been able to create a checklist to ensure website launches are successful and seamless. To learn more about our Webflow development services, contact our team today!
WEBFLOW WEBSITE LAUNCH CHECKLIST
- QA (links, mobile, functionality)
- Test website on different browsers to make sure everything looks in order
- Create custom 404 error page
- Remove unused styles
- Remove unused animations
- Convert PX to REM
- Compress Images within Media Library, Convert to WebP
- Add clear useful Alt Tags to images
- Make sure Headings are used correctly
- Connect Forms (Direct to correct email, Zapier, etc.)
- Create “Thank You” pages for each specific form
- Make sure all pages have proper Titles & Metas
- Add OpenGraph Images
- Set your site’s language
- Set up Redirects
- Remove Webflow branding (site & code, from settings)
- Add company branding to Editor
- Spell check the site
- Make a duplicate of the site (if you transfer the site and something goes wrong, you want to have a copy)
- Hide style guide (set as “draft”)
- Disable Webflow.io subdomain indexing
- Minify CSS & JS
- Add “no follow” tag to respective pages.
- Add SEO tags if necessary
- Setup analytics
- Add additional marketing pixels
- Send out invites for Collaborators (access to Editor)
GO LIVE
- Take screenshots of any existing DNS records
- Add both A Records (remove any A Records with the host “@”)
- Add CNAME Record (remove any CNAME Records with host “www”)
- Set Default domain (generally www.yourdomain.com)
- Check Status of DNS pages within Webflow
- Publish!
One Focus:
Keeping You Up To Date.
Digital marketing news delivered to your inbox without the fluff...Maybe a little fluff....The cute kind 🐶!