[Video] How to create Isometric Text in Adobe Illustrator | Template
[Video] How to create Isometric Text in Adobe Illustrator | Template
Featured & Recent Articles
[Video] How to create Isometric Text in Adobe Illustrator | Template

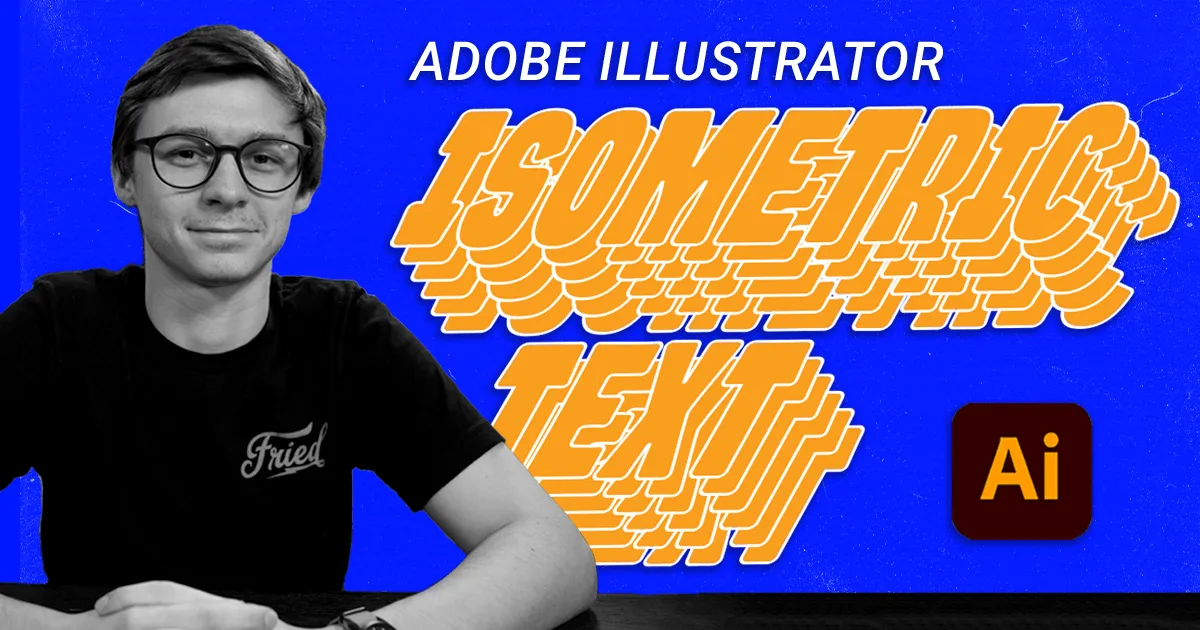
It's #DIYDesign time! Today, we are showing you how to make your text look like an onion. I mean, just look at all those layers! The isometric text effect is a must-have in any graphic designers arsenal. We use it to create unique pieces daily here for graphic design Greenville NC. And is a great way to make your social posts or carousels stand out from the rest of the crowd. This effect is super easy to achieve, and also allows your text layer to remain editable all the way to the last step. Follow along with this blog, or check out our YouTube video to watch the step-by-step process for graphic design Greenville NC.
Step One:

Type your text, choose something big and easy to read.
Step Two:
![[Video] How to create Isometric Text in Adobe Illustrator | Template](https://cdn.prod.website-files.com/5f7f727db3e6f13ab3aee8a6/618eecc0cc8807740fc749c3_AI-IsometricText_Step-2-400x200.jpeg)
With your text selected, go up to Effect, 3D, Rotate. This will open the 3D Rotate Options panel.
Step Three:

In the Position drop-down box choose one of the Isometric options at the bottom of the list. In this case we’re using Isometric Top.
Step Four:

Once you’ve clicked “Ok”, go back to Effect > Distort > Transform. From here your Transform Effect options panel will open. In this panel the only elements we will change are the Vertical Move, and number of Copies.
Step Five:

Add a Stroke to your now completed Isometric Text, sit back, and admire your work.
Like I mentioned above, this effect keeps your type completely live and editable for graphic design Greenville NC. So if you’re happy with the way your final result looks but want to change what it says just click into the text box and retype!


.webp)


.webp)
.webp)


